Projects
I need to catch up on some of the projects I finished last
summer before we went to Redfish Lake. Leading up to the last few days before
Redfish I had most of the painting done and the cushions had all been recovered
and the chairs and sofa re-installed, so anything after that was just an added
comfort. So I had about 2 days to get in the flooring, the microwave, and fix
the ladder. It all came together really well. The flooring went fast- just a
simple glue down. The microwave got secured down using plumbing tape, and the
ladder was secured up with a simple bracket that I added in place of the old
posts. The ladder works great!


I already shared the re-paneling and re-insulating that I
did at the over-cab sleeper area, but here’s a little more detail. There was
some existing water damage at the corners and by the roof escape hatch, so that
meant I had to rip out all of the old paneling and insulation. I also had
removed the front window, so this all needed put back together. I could have
run batt insulation again, but knew that the 2 component insulation would be
much better for R-value as well as add some rigid support to the walls and
ceiling. The 2 component insulation was kind of expensive and I ended up buying
3 kits- I should have just got the next size available, but didn’t realize how
much of it I’d end up using. The panel work followed the insulation and I love
how it turned out. The trim work was by far the hardest to get right. The
inside corners that wrap up the wall were pretty tricky, but they eventually
got done.


The cabinets really needed some help. All I did was caulk all the seams, cracks, etc. on the cabinet drawers and doors and simply painted over the wood panel. The new satin hardware that I bought at IKEA really just make it pop. I love how they look.


So this weekend I got to jump back into camper mode- it was
so fun! I started with the headlight that had burned out. I thought it would be
simple, but it turned out that in order to get the lamp removed, you had to
remove the entire front grill to gain access to the trim that holds in the
lamp. Well, I started to remove the grill and quickly realized that I was
probably going to break the grill in the process, so I ended up forcing the old
light out of the trim and then forcing the new light through the same trim- not
recommended, but nonetheless it was a success. I’ll have to do the same thing
with the other light- I just as well get a new one now because the old one is
so clouded over it barely works.


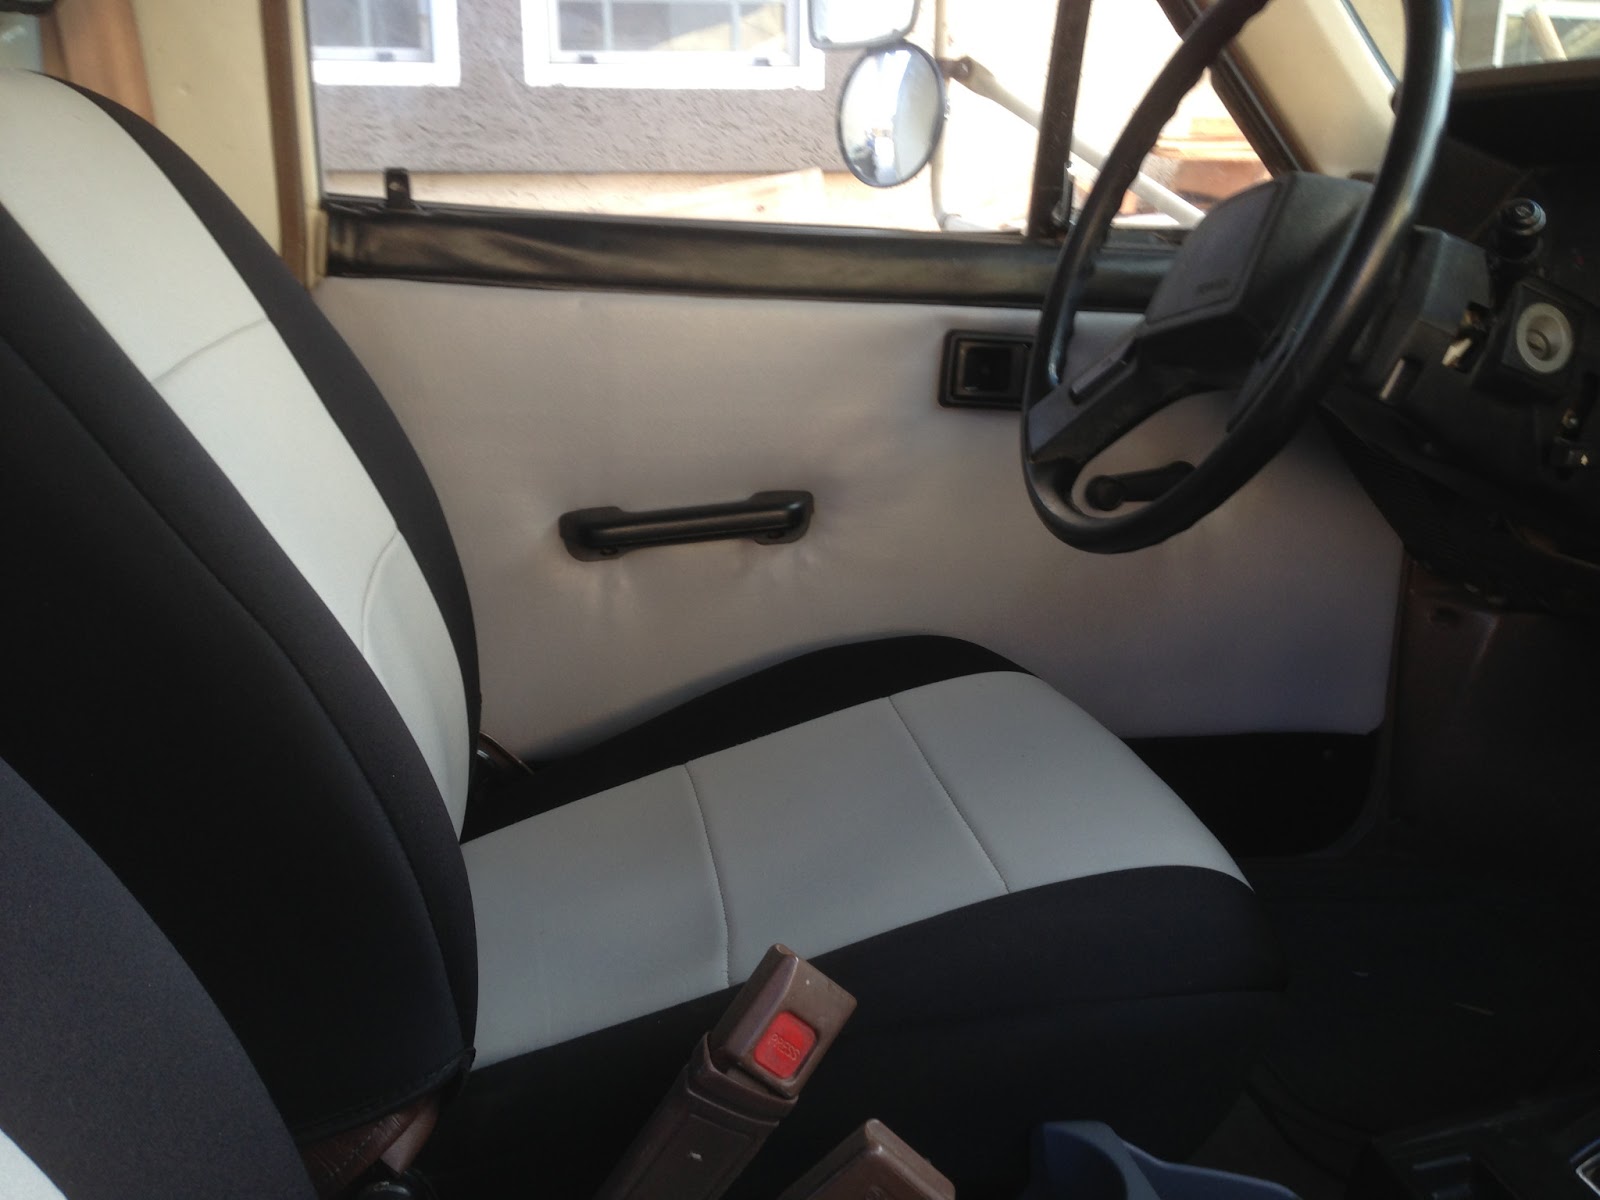
I also was able to install my newly updated door panels. My
door panels needed some work- I just couldn’t find a way to love the brown
woven fabric. I had rebuilt door panels before for my ’70 Chevelle, but I had
bought a replacement kit for my Chevelle, so I wasn’t 100% sure how this would
turn out. I took the panels apart and there were 3 parts- top piece that hold
the window molding, the middle woven fabric part, and the bottom panel. I
studied the top piece for quite a while trying to see if I dare take off the
window weather strip and finally decided that instead of replacing the brown
vinyl- I’d just paint it. Well, it turned out great! I’m not sure if it will
last, so I’m hoping the paint won’t wear and that this project is done for
good. I also decided there was no reason to replace the bottom piece, so I just
painted it as well. I used a vinyl and fabric paint that I found at O’Reily’s.
The woven fabric had been stapled to the backside of the
panel, so I cut a new piece of vinyl and just overlaid it on top of the woven
fabric. I used a staple gun with ¼” staples and it worked great! I figured as
long as I could still get the window crank and door latch to work with the
extra padding that this was the way to go. The added thickness may help for
sound and heat I hope.
I decided to also wrap the door with foil/foam wrap. I got
it at Home Depot and it made a big difference to eliminate noise. I was really
surprised. I sprayed the door with 3M headliner glue and it held in place
nicely.


The first panel to go back was the top weather-strip piece.
This piece was kind of tricky because there are small tabs that grab the door
to keep the panel in place. I also taped the bottom down with reinforced duct
tape that I “borrowed” from my favorite HVAC subcontractor- thanks Carl. The
middle panel went on quite easily. The only problem is some of the tab inserts
aren’t holding, so I may have to add a few screws from the finished face into
the door to pin it down. It will look okay- similar to the screws that hold the
bottom piece, so that’s probably what I’ll do. The window crank and door latch
went on last and I had also painted them, so again I’m hoping this paint holds
up, but if it doesn’t- I’ll probably just try to paint it again.

I also did a little make-over on my circle table. I went to O'Reilly's and bought a cup holder set, cut it down into 2 separate cups, cut holes in my table and JB welded them to the table. I then coated the table with a 2 part epoxy coating. I
was able to do this on a Saturday when I had to work at my construction
project- that’s also when I recovered my door panels and painted them up. My
trailer was so full of fumes that I was high as a kite- it was a good time. I
had “The Killers” blasting from my laptop and I was singing at the top of my
lungs! Here’s a little known secret- anytime I get going on a project, and I’m
pretty sure no one is listening- I usually am in my personal recording studio
creating Gabe’s Greatest Hits. Christy has caught me a few times and has gotten
quite the good laugh out of it!


Well, these projects all turned out okay and of course
Spencer was my right-hand-man grabbing all of my tools and making sure it was
all done right. He even took a drive with me around the cul-de-sac before we
parked it back by the side of the house.
Benett and Brigitte were out helping me as well, but were
mostly interested in their wagon. Brigitte did get inside the camper and
re-established with her brothers which seat belongs to whom and all the other
rules of her camper.
Really nice work!
ReplyDeleteYou had visited my blog last year (86dolphin.blogspot.com) but I hadn't seen the comment until the other day.. d'oh!
I've been doing a lot more this year on it and we're hoping to do a trip to Redfish this year as well.
Oh, and that Horseshoe Bend hill KILLS me every time, I get to a max of about 35.. but the old girl gets us there. :)
Hey Gabe, here are some photos from our welding experience.
ReplyDeletehttps://www.flickr.com/photos/99666576@N04/sets/72157645153111336/
To get the image in a usable size click the three dots (***) on the right side of the image in the side bar. Then select "view all sizes" and then you can select the size you want.